
 es
es  ua
ua 

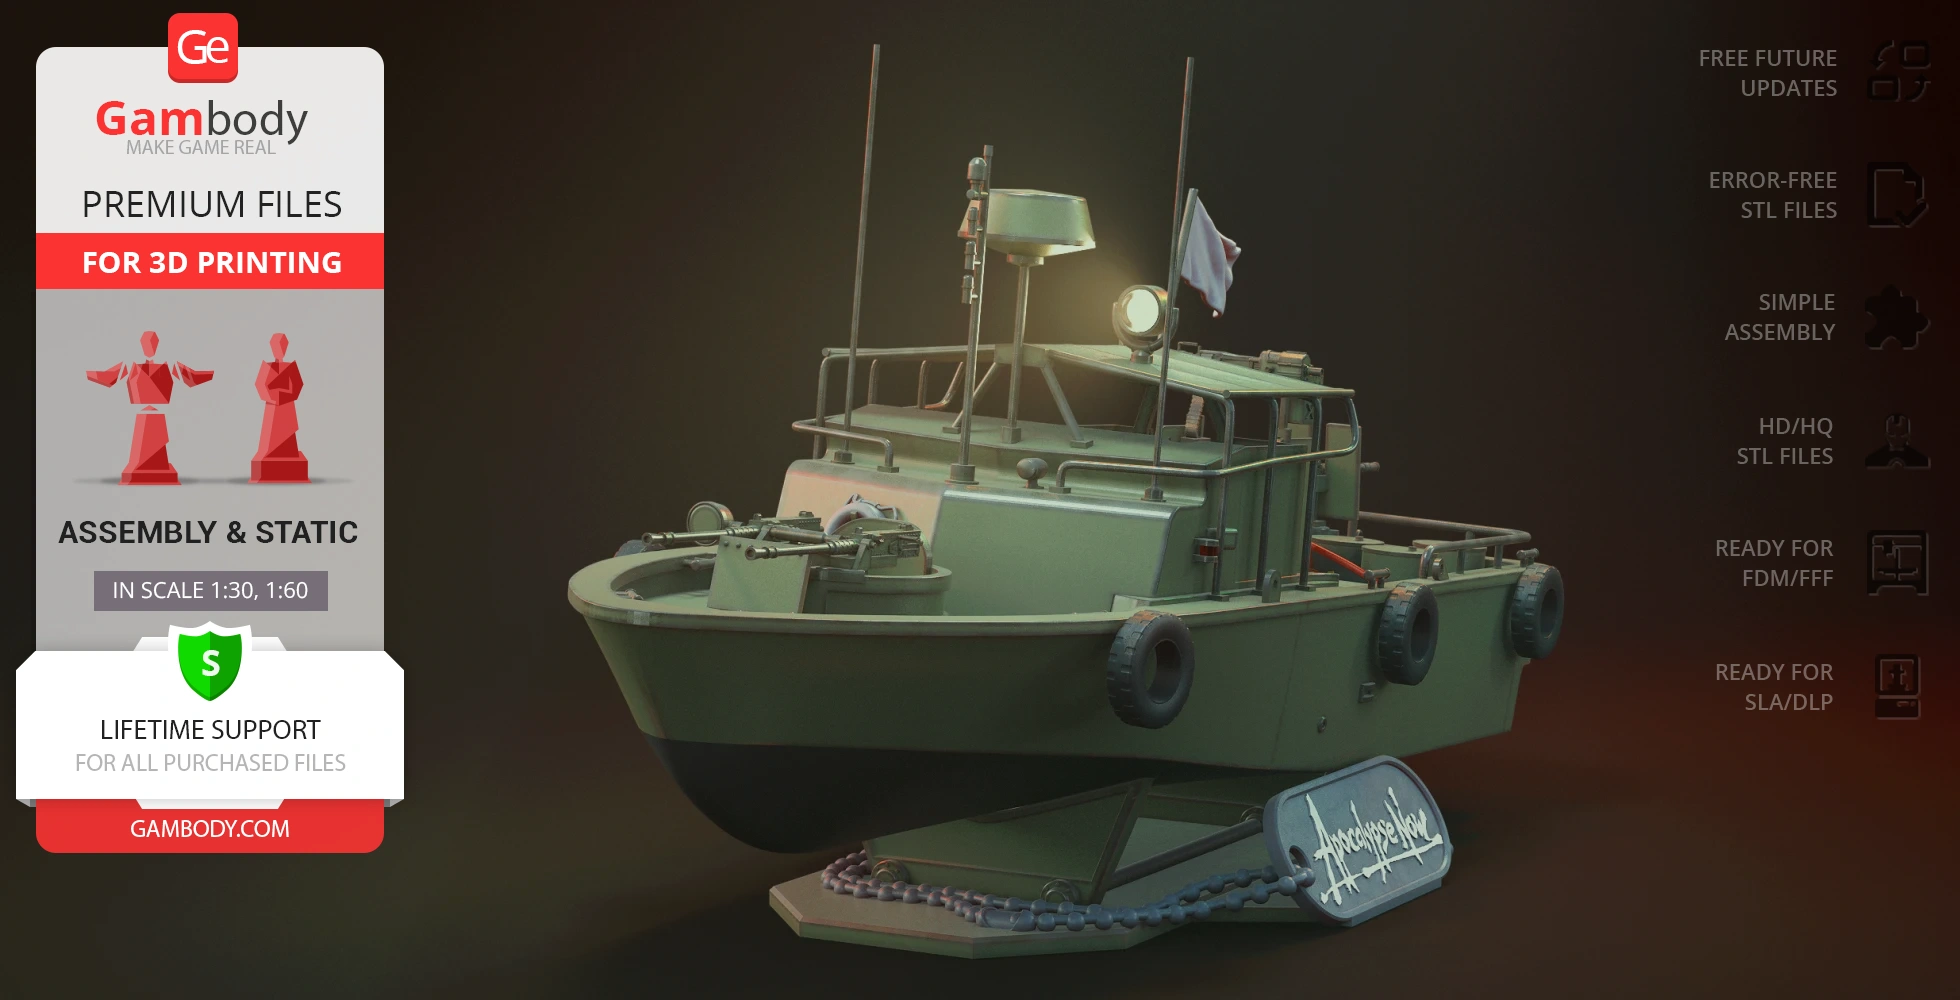
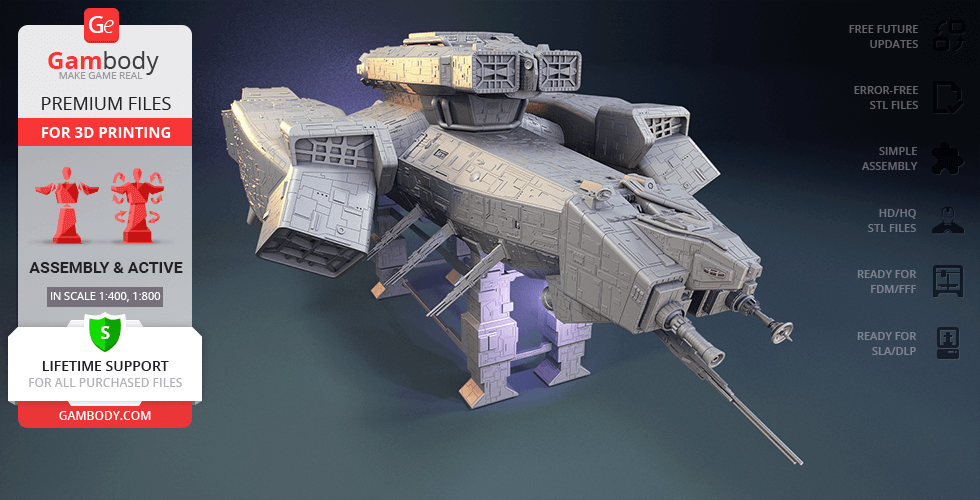
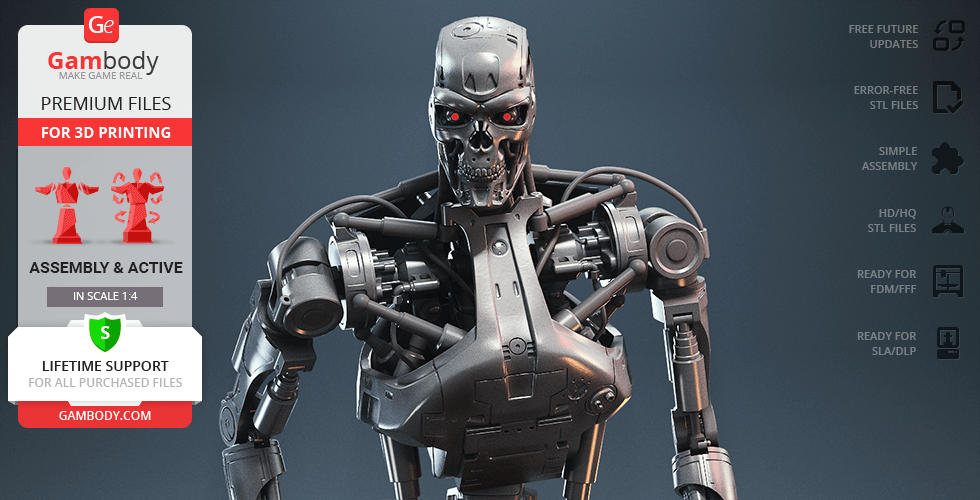
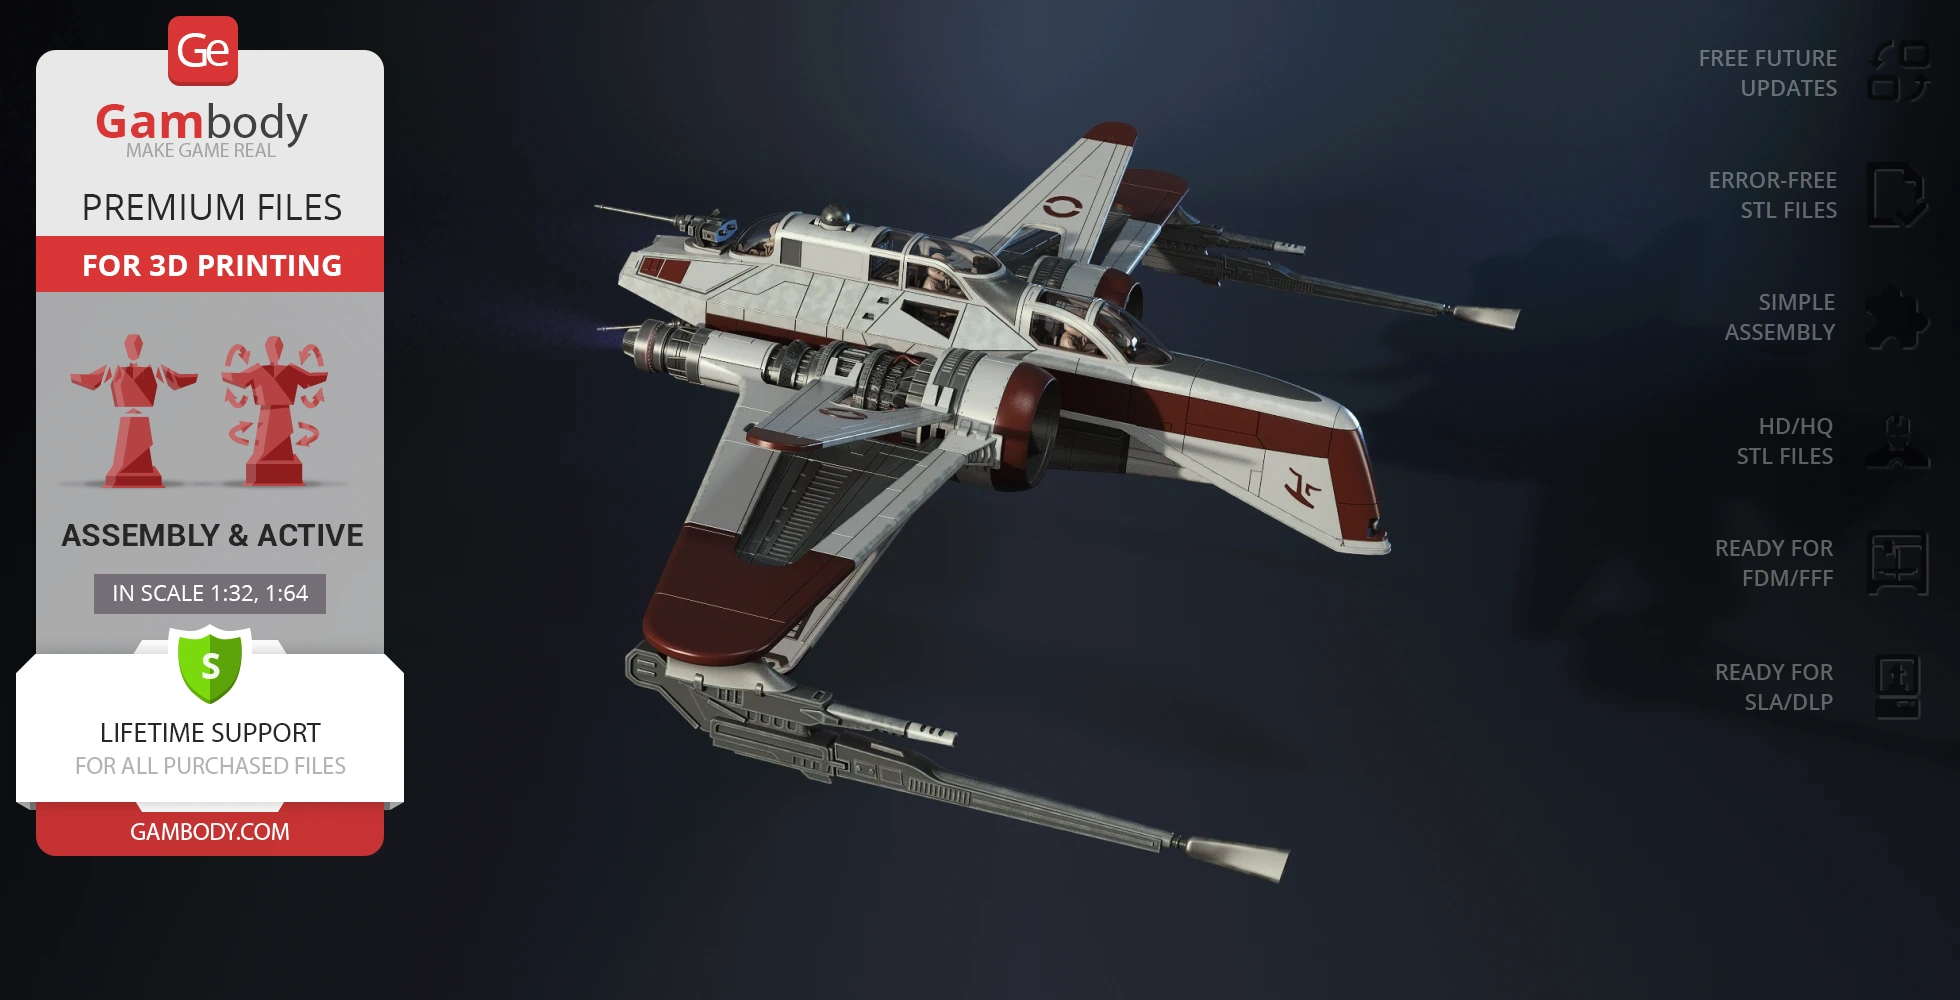


Printed most of the model (at 200 odd pieces, I may have missed a few bits lol). Roughly put together, it looks amazing, not to mention much bugger than I imagined. I'm also currently programming up an Arduino mega for lighting, which is working out well, but not perfect due to limitations of both my knowledge , and limitations of the Arduino programming. The only thing I see that is missing is the fact that the instructions could be a little clearer as to if pieces should be glued together or not, obviously user choice works too though :). Pictures will come at some point when its completed, but its slow going due to the fact that I'm using a battery operated air brush, and only get about 20 mins at a time to paint it.
I’m done with printing this model now, I had some small issues. Part of it did not fit, but they are correct it now and you can download them. I will share some details later on.For the lead trip, a 3 m length will be great. Maybe you should put this in explanation.
I’m full attempt to make this model with more LED lightning. Therefore, I need to adjust some pieces.
More to come later happy printing.


This is my first entry into 3d printing a model. I usually work with styrene kits. I'm very impressed the quality and detail of the print. The parts need minimal post print processing to create really good fit and finish.
Question for the modelling team, is there any opportunity to get a new version of part 27/28? One that say ROCINANTE on it like in season six of the show?


I finally finished this Liberator print and assembly using my 420x420x500 Anycubic Kobra 3 Max and 3v2from to colour print all of the external pieces so no manual painting would be required. I also blew the scale up as high as I could go with these machines so that it finally measured 58" Long x 36" wide and 36" tall (approx). Due to the weight, I couldn't use the supplied optional stand, so I had to make my own using TinkerCAD.
I've linked to a series of Youtube videos showing how it was built. I love the detail on this and it is the best available Liberator model I've found online. If you do scale this up like I have then remember to increase the infill to provide additional strength. I had a problem where my original struts snapped and I had to reprint them 75% infill to take the strain from the weight and angle from the nacelles. There is almost a whole 1Kg spool of filament used in each strut, so they are as solid as rock.
Unfortunately, the main body was done with a mixture of 10-15% infill in an attempt to keep it light, but it turned out to be too little to support a model of this size and you can year the PLA creaking when the model is handled and the area around the orange/yellow panels is the weak point for the model. I'm worried that hanging it from the ceiling could cause the model to snap at this point, so I grabbed a pen, paper and ruler, loaded up TinkerCAD and started designing a table mount that would take the strain. After a few prototypes, I came up with something that supports the body from underneath and also takes some of the weight off the lower struts. In addition, I made 2 large tubes to insert into the model's main body from the engine side which added a lot of structural support and provided a way to mount a light source for the green globes.
I'm going to give some credit to my trusty Elegoo Neptune 4 Max for making the majority of the display stand, which also utilized a stand I had made for an ACE Pro to save time. The internal tubes were done on my Centauri Carbon and FLSun T1 for speed. PVC pipe glue was used for the assembly.
If you decide to print in colour like I did then remember you're going to need to "paint" the parts in Orca yourself. If you're going to paint it in the traditional way then printing time will be way less. If you do decide to go big then consider where you will display it. This model is almost 5 foot long and stretches almost 3 foot wide and tall. In hindsight, I think I should have done it at 75% of that scale, but I love a good challenge.
Remember, Series 3 is due soon on BluRay!!! Here's the video link and a picture of the final model:
https://www.youtube.com/playlist?list=PLxHXVKY50McOLQnnYB183dVTBRoHMFI3G


Amazing file to work with, the model was a real pleasure to print and paint. Everything fits perfectly and the final result is very satisfying.
I think this build has more detail than the original studio model (LOL). It made me happy to find the Heart of Gold and now it sits with pride on my desk at work.
I actually scaled this one down to roughly 1:1000 and even though it's smallish even the tiny windows printed out well.
This was a great build from start to finish with clear instruction notes, there was a few parts that had to be printed at different orientations to get the best results but overall a very detailed model. I have printed 2 time machines now and would recommend this model to anyone who is into classic sci fi.


An absolute monster of a build. And it has great details And the addon packages makes this exceptional detailed an fun print. I is estimated to use 11kg of filament and 750 hours of print time on my Bambu A1.

Did it with Bambulab P2S and black PLA, using the parameters for Bambulab.
First printed the head top with transparent filament but it was not has clear has in the picture here so painted glossy black making it more realistic.
Everything fit 100% no sanding or grinding but I stil used cryacinate liquid glue.
Thanks for this well done
Printed this first version and was completely satisfied. Month later returned to download, so as I could improve my first attempt. Surprise! The model had been improved and it's amazing. I love this model. Many thanks!

Had such a great time making Paul! Instructions were perfect, easy to understand. Support answered all my questions in a timely manner. Am purchasing more files from the best stl file site on the planet, GAMBODY!
I spent agonising hours printing paul as a distraction for my family - my name is paul and they associate me with the alien because i love marmite. It took ages on a couple of ender 3s. Painted it outside, 20 minutes someone stole it - that is how good this print is.
Excellent file and setup, easy to print, harder to stick together on the head LOL. I am going to print it again but this time mod the file for magnet fitting of the head pieces making the process easier. If you want a life size paul then have at it, fun and always a pleaser, there are no faults with this model at all which I love.


I loved UFO as a kid so I just had to get this model when I ordered my new Anycubic Kobra X. The model was so easy to print and for the most part very easy to colour. Final Result came out great!
Not the best picture but awesome model with great detail. Thanks. Printed it on Creality k1c without presets and didn't have any problems.


Merci beaucoup pour ce modèle. Il est vraiment magnifique. Je l'imprime en PETG HS ERYONE, nozzle en 0.25 et layer en 0.06 mm sur Flashforge ADM 5 PRO. Patrice

One of my first print for the friend of my daughter, Doom Mask. Turned out great, friend was very happy liked my painting, too (although I think could have been much better).

Understand I'm not _that_ old (at least in my own mind), but when I was a kid, I was a big model builder. Had all sorts of SciFi models like the Flying Sub, Spindrift, Orion, Enterprise Bridge, Moonbase Alpha, and more. So now I get to be an adult re-living my childhood! The original scale was too big for my room, so I scaled it to 60%. And I must say, the details remained very visible. I used my Snapmaker U1 to colorize the print (used my Bambu P1S for the solid colors) – not a single dab of paint was used. Looks freaking awesome.
The fit and finish is phenomenal. The pieces fit together very, very well. That said, the recommended print settings are *very* slow; I would probably experiment with speeding them up if I were to reprint this (not a negative; for anyone that sees this later).

Just finihsed printing and its massive, I printed the FDM version but in Resin (As i like pain), and its HUGE, but massivly detailed, every print i would look it over and was just speachless. I would 100% recomend if youre a B5 fan to buy this with out doubt BUY IT. Keph is a talented designer and i cant wait for what he comes up with next, Im also going to make sure everyone knows about this model and how good it is.

I printed this for my wife, as she is a huge Grogu fan. Painted the model in Snapmaker Orca slicer to print multicolor. Did all the parts separately and glued together. Printed mostly in Matte PLA from Overture. The biggest issues I had were in printing the candy cane and the hands. They do not like to print standing up to get the best detail, so I ended up orienting them laying down and using a raft with supports. Palms down with the hands, so the palms side is not the nicest looking because of the supports, but they are hidden by the coffee mug, so not terrible. The fit on everything was great and I look forward to printing the other versions of this for the different Holidays!